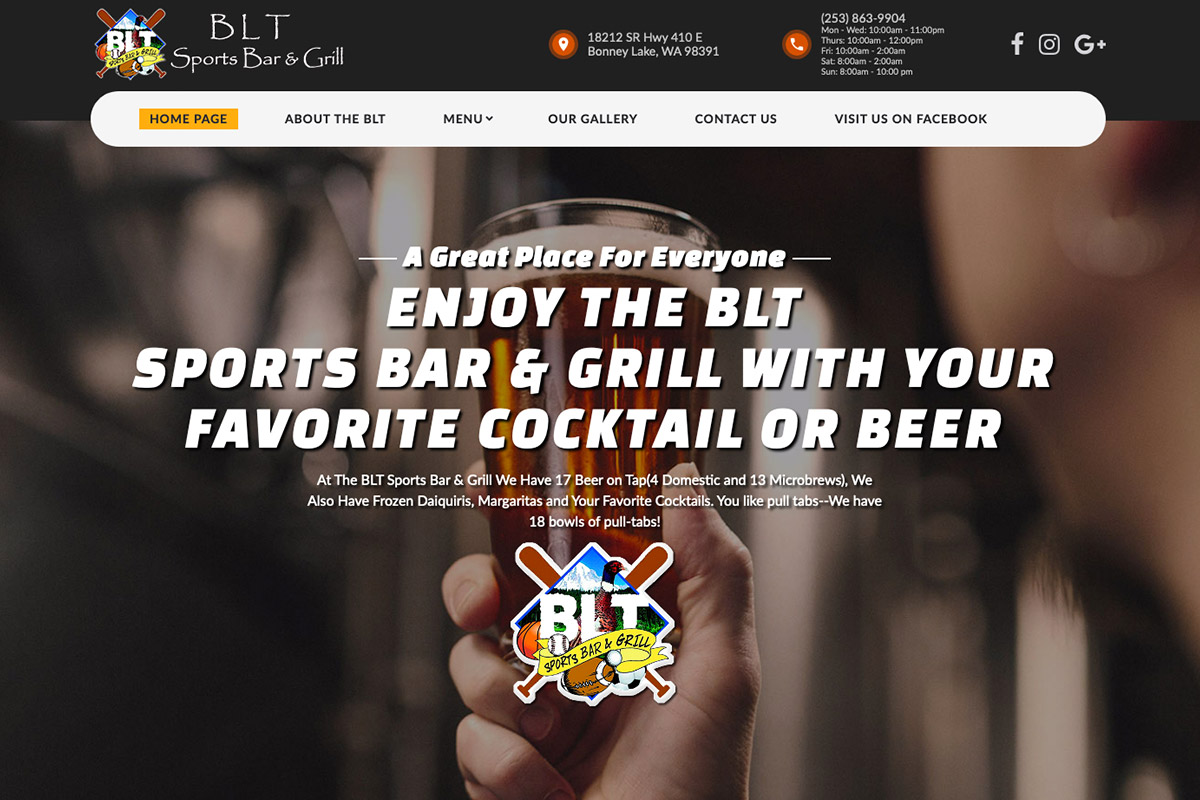
We began our journey 13 years ago, and had Darrin at Notable Web design our website. We had so many different ideas and he was so knowledgeable to deliver those ideas into our website.

Susan
Client
To create an autoresponder, please do the following:
You have now just set up an auto responder. If someone sends an email to the email address you specified, an E-Mail will be automatically sent back to them with the info you have provided.
Autoresponders will begin to work immediately after their creation. You are unable to disable and save autoresponders for future use. To remove an autoresponder or disable it, you must delete it. Once an autoresponder is deleted, it will no longer function.
We began our journey 13 years ago, and had Darrin at Notable Web design our website. We had so many different ideas and he was so knowledgeable to deliver those ideas into our website.
Thanks for all you are doing for me! The website that you created for my accounting business is incredible! I've shown it to my clients and they absolutely love it!

YES!!!! This website Looks awesome! Thank you so much! I truly should not be this excited but I am! Incredible job Darrin!

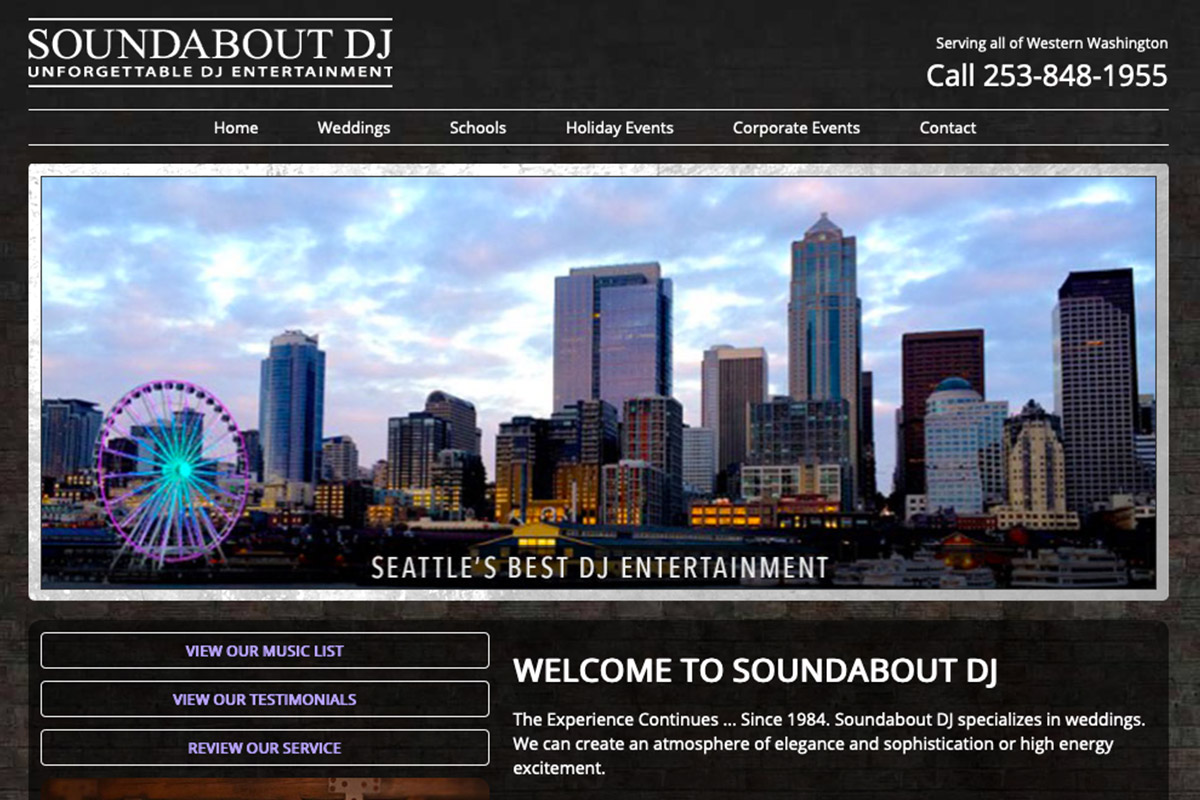
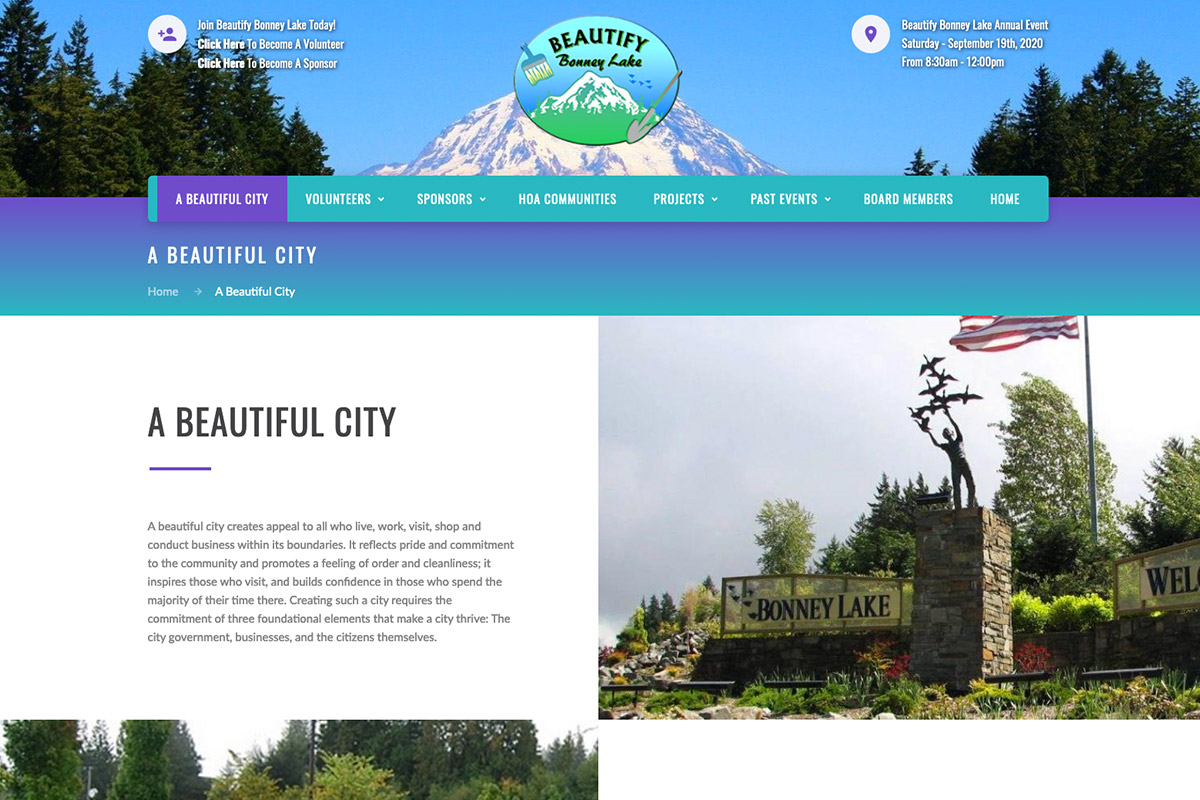
Our new Beautify Bonney Lake website is now live!!! Thanks to Darrin with Notable Web for making this fantastic site possible.
Pards, you have outdone yourself once again. You have been working with me for over 15 years and I sincerely appreciate you!

Thank you for the SEO services you provided for our RV Center. You helped our websites attract a lot of new customers. Way to go Darrin, you are the best!